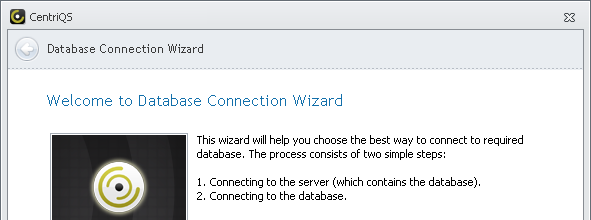
How to Log on to the database in CentriQS
1. Open the Database Connection wizard in any of the following ways:
- Select the Launch client application check box on the final page of the CentriQS Client Setup wizard
- Double-click the CentriQS icon
- Click Start, point to All Programs, click the CentriQS folder, and click CentriQS

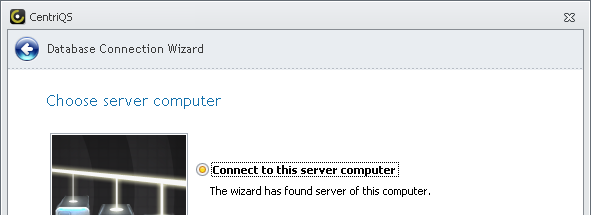
2. Select computer with CentriQS Server application depending on the following conditions:
- If you installed both CentriQS Client and CentriQS Server applications on your computer, click Connect to this server computer.
- If only CentriQS Client application is installed on your computer, click Automatic search.
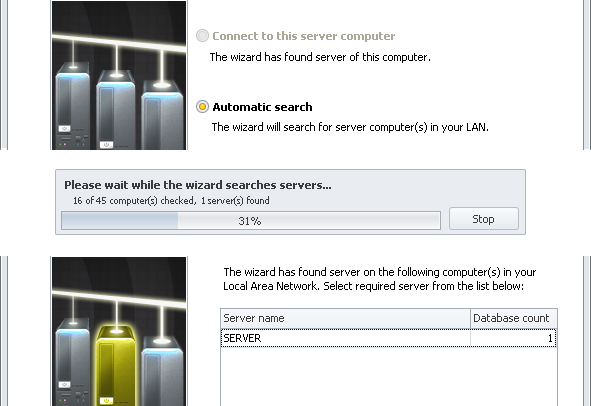
Tip You can click Stop, when at least 1 server has been found.
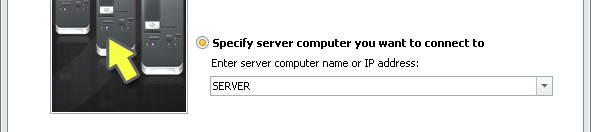
- If only CentriQS Client application is installed on your computer and you want to connect to a particular computer with CentriQS Server application, click Specify server computer you want to connect to and enter the name or IP address of the computer.
3. Select the database you want to connect to
- Click the database from the list (by default there are at least several sample databases supplied with the trial version).

4. Log on to the database
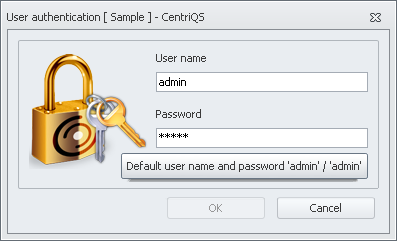
Important! If you log on to the database for the first time, type username: admin and type password: admin. Under admin account you can create User accounts with their usernames and passwords.